Tuesday, June 21, 2011

Pin Pouf Winner!

Random Generator selected #2 as the winner of the Pin Pouf pattern giveaway.


Congratulations to Heather A! Regarding her current pin cushion she said:

I'm currently using a round dollar store kitchen sponge set into a clear, round plastic food container. FUGLY! I SO want a pincushion. This one would be lovely for me. Or ... one of these days I'll just have to bite the bullet and make one.

A kitchen sponge? Yikes! Almost as bad as my rolled up batting number. Time for a new pin cushion. I'm sending Heather a copy of my PDF pattern plus fabric to make her own.

Originally I said the fabrics would be red and aquas, then red, white, and blue. It's just so hard to decide! I settled on my current color combination obsession: orange and green. These fabrics are all designed by Sandy Klop. Her American Jane fabrics are just so fabulous and versatile. Hope you like them, Heather :)

Peas & Carrots plus Pindots
Thanks to everyone who participated. The Pin Pouf is just an appetizer. I've got several quilt patterns in progress and can't wait to share my designs, but mum's the word until they're completely finished.

Later this week I'll be blogging about the International Quilt Study Center and Museum that I had the good fortune of visiting this past weekend. Until then, happy sewing!

Annik

Tuesday, June 14, 2011

Pin Pouf Pattern Giveaway

My first PDF sewing pattern is now available in my Etsy shop! It's a pin cushion pattern called The Pin Pouf, and to celebrate, I'm giving away a copy to one lucky reader. I'll also send you some American Jane fabric that's long out of print to make your own pin cushion. Classic red, white, and blue.
Now a little bit about The Pin Pouf. While this pin cushion is great for any sewist, I designed it with the quilter in mind. Here's why:
  • it's thick! At 2" deep, it's perfect for long quilting pins and there's no risk of being stabbed from underneath.

  • it's big! This 3.5" square provides plenty of space for lots of pins. It's not so big, though, that it takes up your entire sewing space.

  • it's flat on the bottom! This baby stays put, making it easy to get pins in and out without fuss.
     
  • it's made with quilting techniques! Quilter's will recognize strip piecing, chain stitching, and matching seams.

    To enter the drawing, leave me a comment describing your current pin cushion. Leave another comment if you follow my blog for a second chance to win. I'll select a winner via Random Generator on Monday, June 20th.
    Good luck!

    And if by chance you'd like to buy the pattern, it's available at http:www.minimushroom.etsty.com ;-)

    Wednesday, June 8, 2011

    W.I.P. Wednesday


    I have so enjoyed making this quilt. It's just a simple patchwork number made with a couple of charm packs (Charlevoix by Simpson & Minick for Moda). It's not my typical color scheme or style, but maybe that part's of its charm. I keep envisioning it draped over a white wicker "settee" on a big front porch.

    While the pattern itself is simple, I sorta went crazy with the quilting. I free motioned the red Amercan Jane Pindot border:

    Pindots
    I straight line quilted the patchwork, but instead of doing something simple, I selected a pattern that required lots of measuring and taping. If there's a more difficult road to follow, I always take it!


    Finally, I tried my hand at stitch in the ditch for the very first time. It wasn't as bad as I thought, but it was a bit trying on the eyes. I started out using the edging foot that came with my Viking, but quickly abandoned it for the walking foot. The stitching was perfect, but without the even feed the fabric started bunching. I'm starting to understand why so many quilters gravitate towards Pfaff machines with the built in walking foot.

    Could be better, could be worse
    I'm dying to get the binding on this baby, but it's been soooo hot (102 degrees yesterday in Minneapolis, MN) and since we don't have central air I don't dare turn on the iron to press my binding. My strips are cut and sewn together and ready to go. Thankfully, today is absolutely gorgeous and tomorrow will be cool again, too.

    Binding patiently waiting to be folded and pressed
    Today is the last day of school. I have many hours of hanging out at the park in my future. The perfect place to hand sew some binding.

    P.S. this sweet quilt will be available in my Etsy shop as soon as it's finished!

    Happy June,

    Annik

    Sunday, June 5, 2011

    Sunday Stash #2

    How about a quick Sunday Stash report? I picked up a few new goodies at Treadle Yard Goods Memorial Day sale last weekend. I was hoping to find a nice purple print for a quilt pattern I'm working on, but ended up buying a bunch of stuff. Typical.

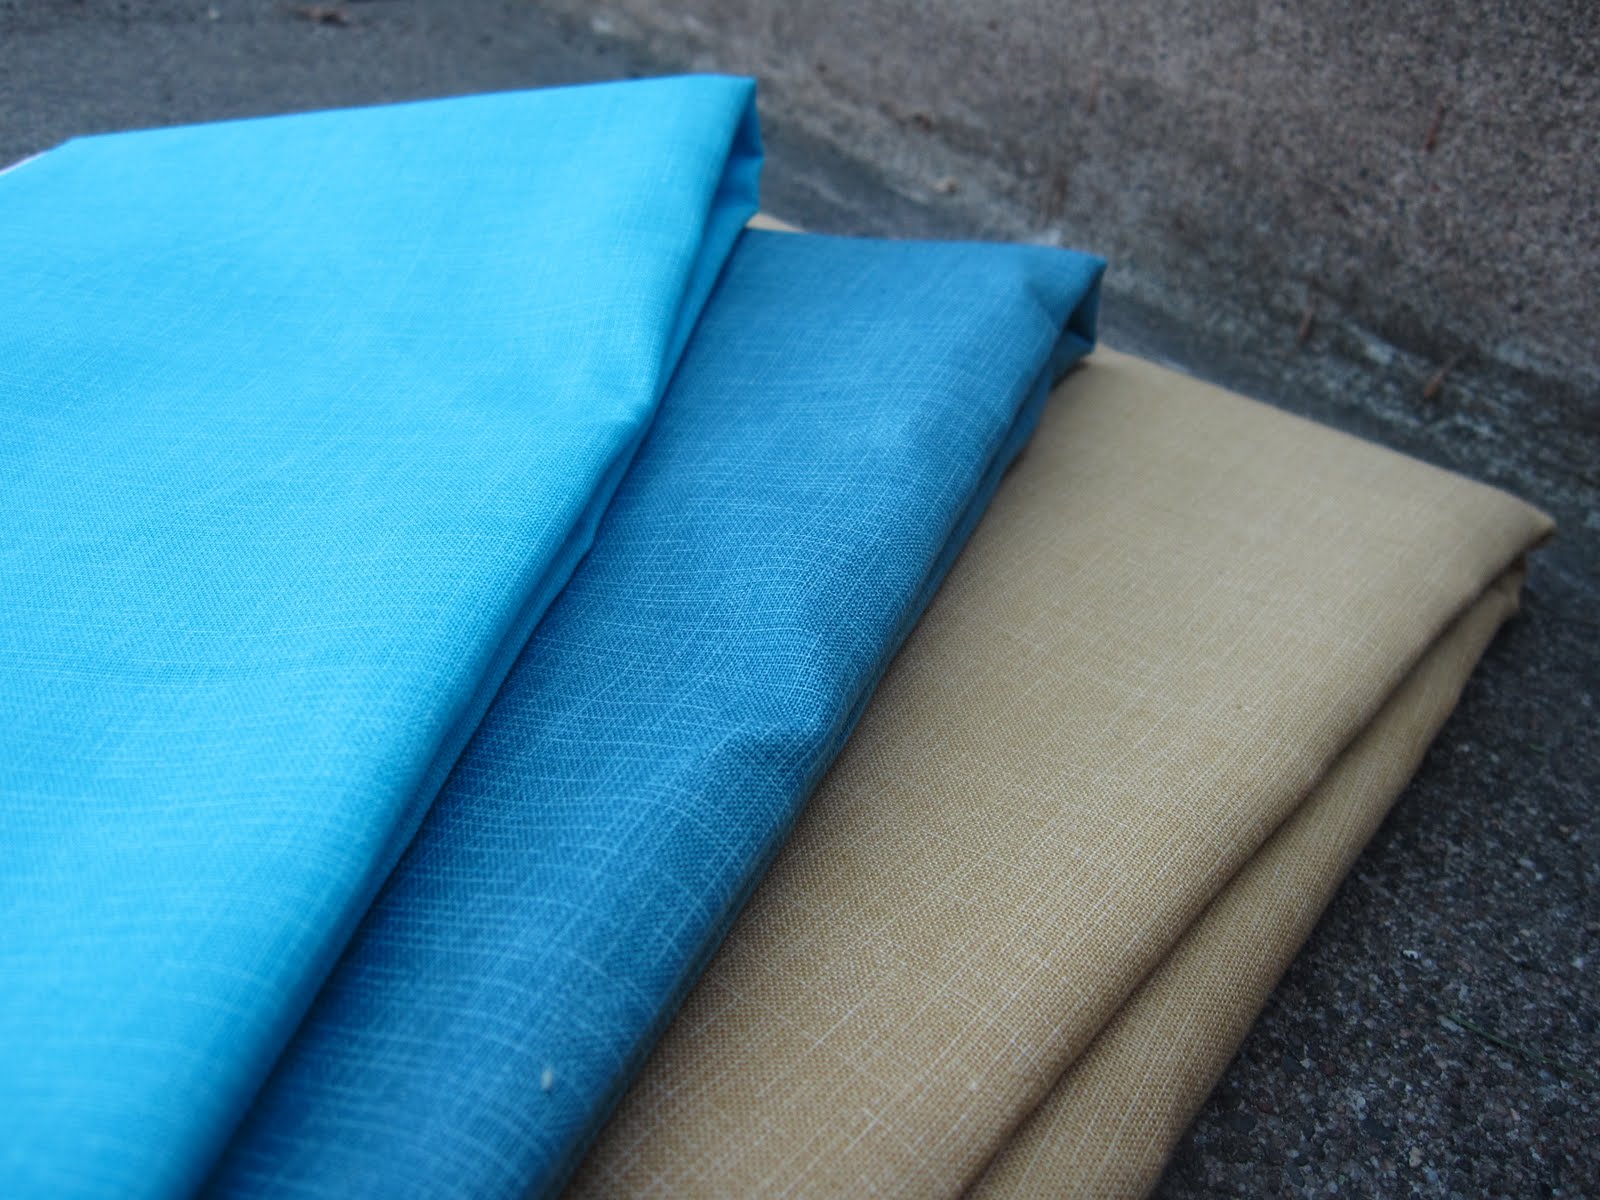
    Robert Kaufman Quilter's Tweed & Carolina Chambray
    Purple is tough. Is it just not popular enough for major manufacturers to bother with it? If you know of a fabulous purple print please leave me a comment with the details.

    Next up, Robert Kaufman's Quilter's Linen. So pretty. Wish I had every color...


    And finally, I got a little treat in the mail earlier this week. These will be fun to play with!

    Sherbet Pips
     Happy sewing,
    -Annik

    Friday, May 27, 2011

    Quilting Advice from a Beginner

    It's been a year since I finished my first quilt.


    In honor of this anniversary, I'm going to share with you photos of some of the quilts I've made in the last 12 months and what I've learned along the way. Who doesn't love a good list, right? Especially one that might save you some frustration!

    1. Contrast is your friend
    If you want to see the details in the blocks, you'll need some color or value contrast. I thought my Mod Sampler Quilt Along would be a home run by virtue of selecting all Amy Butler prints, but I was wrong. Some blocks had enough contrast to pack a punch, but others just blended into nothing.


    2. Read the entire pattern before you start sewing
    This one makes me laugh. I mean, duh! My mom told me this a hundred times when she was teaching me to sew.

    Addyson's quilt
    In this case, I used a pattern I found online (seems funny that I would have used a pattern for this given how simple it is, but this was only my second quilt). I didn't bother to read the sewing directions because the pattern was so simple. I did, however, follow the cutting instructions. I was surprised when my finished quilt was kinda big for a baby quilt. That's because the pattern called for a larger seam allowance than the standard 1/4", but I had no idea since I didn't read the pattern all the way through.  It also called for a VERY wide binding (5"!), which isn't my style. I had already cut out all the binding before I realized I could have used half the fabric. Lesson learned. Read the pattern and make any necessary changes before you start cutting and sewing!

    3. Square up your blocks
    4. Get advice from seasoned quilters
    5. Be flexible and find other solutions
     It's easy to get caught up in the euphoria of quilting. You're desperate to see the final product so you speed through the process. My dears, this can lead to serious problems.

    Hello Betty Retro Square in a Square quilt

    Take the time to square up your blocks.
    Please! When I made this quilt I thought, "well, I cut all the pieces and I know I'm really precise, so I'm sure all the blocks are the same size." WRONG!

    In the original pattern, all the blocks line up in perfect columns and rows. But in order for this to happen, the blocks must be the same size.

    My blocks were not the same size. Sadly, I didn't figure that out until I had already sewn all the vertical sashing on all seven rows. The columns didn't line up at all when I laid out the quilt with the horizontal sashing.


    I wanted to cry. The option was to rip out massive amounts of sewing or make the best of the situation. My friend and quilting doula, Clemma, suggested that I offset the rows to hide my mistake. It took some ripping and recalculating, but it turned out fine. Three cheers for making lemonade out of lemons!


     6. Make small projects
    Small projects are a great way to unwind after a monster quilt. You get immediate gratification as well as a chance to learn and experiment. Make a mug rug or a wall hanging. You'll love it!

    Wall hanging made with one Kona charm pack


    some of my Quilt-a-Day minis

    6. Have no fear of large prints
    Have a beautiful piece of fabric that you just can't bear to cut up? Then don't. Make a whole cloth quilt, instead. 

    Sorry about the wrinkles - another lesson is to buy really good batting!
     I bought this Kokka matryoshka fabric at Crafty Planet and just couldn't bear to cut it. It was spendy, so I didn't want to waste an inch. I decided to make a whole cloth quilt. I'll admit I felt like I was cheating since I didn't piece anything, but it was a great opportunity to work with color and practice my straight line quilting.


    Quilting doesn't have to be a competition. Not every quilt needs to be made up of a million teeny tiny pieces. Large prints are great fun to work with and they turn themselves into quilt tops mighty fast!


    Inspired by windows panes


    7. Invest in the tools of the trade
    Buy a walking foot if you're planning to do straight line quilting.
    I quilted this one without a walking foot. I was pleased with the results, but I must admit my walking foot (or even feed foot) makes quilting much easier and less "puckery." Also, I can't recommend painters' tape enough for marking the sewing lines, but steer clear of generic brands as they won't stick to your fabric.

    Planning to free motion quilt? You absolutely, positively must have quilting gloves (lotion alone will not give you enough grip) and an extension table for your sewing machine or a table specially designed for quilting. You'll also need a way to sit up higher in your chair.  Sit on pillows or a phone book (what's that??) if your chair isn't adjustable.


    One tool I've discovered I don't need is binding clips. They slowed me down as I hand sewed and they compressed and distorted the fabric, making the binding look uneven. Save your money for something else.


    8. Plan ahead
    If you like the look of improvised quilts, hooray! You're home free. If you like your quilts neat and matchy-matchy (that would be me), then you need to plan ahead. Select your backing and binding fabrics before you start piecing your top. Do all the fabrics looks nice together? Does the backing fabric make sense with the overall intention of the quilt? This situation has bitten me in the butt three times now. Will I ever learn??

    I came up with the pattern for this quilt months ago and jumped in with both feet. I didn't select my backing fabric until I had finished the top, at which point I really wished I had used an ivory solid in the gingham that would have coordinated with the backing fabric rather than white.


    Here's another one. I didn't have any backing for a top I just pieced, so I headed to my local quilt shop, Glad Creations Quilt Block, and found a suitable fabric for the backing on the 50% off rack. Hooray for a sale, but directional prints can be such a hassle to match up when piecing a back. I didn't have to match up the print, but it would have been really obvious if I hadn't. 

    See my seams? Not perfect, but good enough.
    Here's one of my in-progress quilts. I thought it would make a lovely picnic quilt, but then I realized the fabric I chose for the backing is mostly white. Not suitable for using on the dirty ground unless one really loves stain remover. Bummer.


    9. Do the math
    The quilt top above will get a double border before it's done, but it's still pretty small. I used two charm packs of Moda's Charlevoix plus a couple of American Jane Pindot charms. What was I expecting from two charm packs? A king size quilt?? Look how much backing fabric I bought. FOUR YARDS for a quilt that will be a small throw at best. Good grief!!


    Draw out your quilt design. Make your calculations and figure out your fabric requirements ahead of time. What's worse than buying too much of the same fabric (and cutting into your stash fund)? Not having enough! Take the time to figure out what you need.

    10.Try it!
    I never thought I would like quilting. No way, no how. I grew up sewing clothes and doing home dec stuff. But man, quilting is so fun and the possibilities are endless. Even if you're a die hard garment maker, try it. You might just love it.


    That's enough from me today. What's your favorite tip for a quilting newbie?

    Friday, May 20, 2011

    It's Black and White

    Oh man, last night's Minneapolis Modern Quilt Guild meeting was fun. We got the inside scoop on Spring Quilt Market in Salt Lake City from Lisa and Alyssa (can't wait for her new line of fabric by Clothworks). We discussed the that whole "dumbing down of quilting" controversy that's had the blogosphere abuzz. What a pleasure to "talk shop" with fellow quilty types.

    So way back in February, Elise, one of the MMQG members, came up with a great idea for a challenge. Everyone (who wanted to participate) was to bring 6 or more 3" x 20" strips of at least two black, white, or gray prints. We traded the strips, taking as many as we brought. Then we were to make a project with the strips adding only one solid fabric.

    Last night we revealed our finished products. They were totally awesome! Wonky stars, zig zags, a bubble dress, table toppers, and pillows. The variety and creativity was just amazing. It was also fun to see which solid colors people used. Green, blue, yellow, and magenta and hot pink were popular, plus simple and satisfying gray.

    Here's my project. I had an absolute blast making this. I'm in the process of writing up the pattern and hope to have it done very soon. I'm excited to explore and expand the concept and would love to end up with several patterns. What do you think?


    The green is Kona "Peridot" by Robert Kaufman. The binding is a dark turquoise Carolina Chambray (also by Kaufman). I must admit I had some trouble settling on a solid color, so I essentially made another quilt top for the back using Kona "Candy Blue."


    I wish these photos were better. Spring in Minnesota this year has been so dark and dreary. It's been a challenge to get enough light for decent photos. If the sun ever comes out again I'll post some new photos.

    Wednesday, May 18, 2011

    The Big Reveal

     Tomorrow night is the May Minneapolis Modern Quilt Guild meeting. We *finally* get to reveal our black and white challenge projects. I can't wait to see what everybody did with their 3" x 20" strips and to reveal my own project to the group and the blogosphere. My photos are ready (I finished my project months ago - no joke).

    I'm busy writing up the pattern just in case it's a huge hit and absolutely everybody wants to make one! I'm also planning to put my new pin cushion pattern up for sale on my Etsy shop in the next few days. Pretty sure I'll have to do a giveaway in honor of its debut so stay tuned.