

A quick word about fabric washing before we start. I'm not prewashing any of my fabrics because the charm pack squares can't be prewashed. This is an all or nothing scenario. If you're using scraps that have been prewashed, then please do prewash and press your sashing, backing, and binding fabrics.
Here's the cutting diagram for the sashing/border fabric.

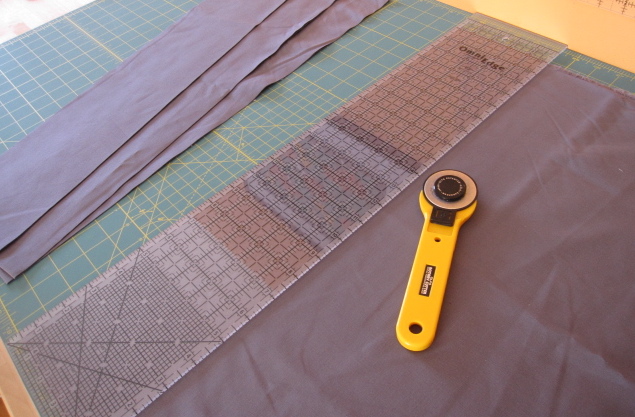 |
| Three 5" x WOF strips cut, one to go. |
Now cut three 2.5" by WOF strips. Cut a 10" length from two of the strips - be sure to cut off the selvedge on that end before you make the 10" cut. Now you should have:
1 - 2.5" x WOF strip
2 - 2.5" x approximately 32" to 34" long strips
2 - 2.5" x 10" strips
4 - 5" x WOF strips
Set your sashing and border pieces aside for later.
If you're using a charm pack for the quilt, select the 36 squares/prints you want to use. If you're planning to raid your scraps bin, you'll need to cut 36 - 5" squares so get busy!
In my next post we'll lay out the squares, piece the blocks, and construct the quilt top.
Leave me a comment if you have any questions.
-Annik
Link to Four's a Charm Page
I am using this pattern for a quilt for my friend who just adopted a baby- thanks SO much for this pattern! It has helped me tremendously! :)
ReplyDeleteLeah, I really appreciate hearing from you and I'm so glad you like the pattern. Will you send me a photo of the finished quilt? Congratulations to your friend :)
DeleteI definitely will! She arrives back home next week, hopefully i can finish by then! :) what is your email?
DeleteLove this pattern! Thank you so much for the very detailed tutorial, I really appreciate the clarity you have provided and hope my quilt for my best friend's new baby turns out as well as yours did :)
ReplyDeleteThanks again, Emma.
Emma - thank you so much for comment. I'm glad you like the pattern and find the tutorial helpful. I hope you'll send me a photo of your finished quilt :)
DeleteBest wishes! Annik